Ever wanted to start your own Golf YouTube channel but didn’t know where to begin? Well, look no further! This blog serves as your comprehensive guide on how to make a golf YouTube video.
YouTube Golf is becoming very popular, and it may seem really difficult to make those videos, but it’s actually easier than you might think. I've been doing YouTube golf for about 1 year now, and I wanted to create this guide for those of you just starting out and share everything I've learned.
Prior to starting my YouTube channel, I knew absolutely nothing about content creation and editing, so just like you I was an absolute beginner. If you don’t believe me, you can check out the first video I ever made here (spoiler alert: It is super cringe-worthy).
If you learn better visually, please check out the YouTube channel for a detailed video on how to make a golf YouTube video.
Be sure to Subscribe to our channel for more golf related content, motivational videos trying new things, or you just want to join a community of positive people.
Now, let’s learn how to create a fun and watchable golf video, regardless of your golfing skills.

I am going to break this guide up into two parts,
- How to film a YouTube golf video
- How to edit a YouTube golf video
How to Film a YouTube Golf Video
The filming portion of the video will usually take about 4-5 hours (or however long your normal round of golf takes…)
I think the easiest way to learn how to film a video is to learn about all the equipment that is needed, and what it is used for.
Phone or Camera
This is the first piece of equipment we need to actually start filming the video. I actually recommend starting with your phone because when I started, I knew absolutely nothing about cameras or how to optimize the settings. Putting off making videos until you have the “proper” camera is just another way to procrastinate starting your channel.
DON’T PROCRASTINATE!
It’s actually much easier to start out using your phone because all you have to do is set it up and press “record”. It’s also very convenient because when we go to add the shot tracers to our swing videos, the files are already on our phone to use with the shot tracer app!
![]()
(That being said, the current starter camera I have now is the Sony ZV-1).
Microphone
If you are using your phone to record, there are some special considerations when using a microphone.
- Modern phones don’t have an AUX port. You will most likely need an AUX – USB-C adapter. (Be sure to test this before using it, sometimes they are finicky)
- I have never tested this before, but a Bluetooth microphone is another option. (again, I would test this before filming a 5hr video with it).
I would definitely recommend using a microphone if you can, because when you are recording outside, there is a lot of noise we would like to filter out, especially wind!
Now, I use my camera with a Lavalier microphone setup I purchased from Amazon here.
TIP: When I setup the microphone with my camera, I had to use the AUX cable with two black rings around the tip (I don’t know the technical term for this cable), but for some reason, when I used the AUX cable with 3 black rings around it, the camera didn’t pick up the audio.

There are two main components to the microphone setup, the transmitter and the receiver. The transmitter is what gets connected to the mic and attached to you, and the receiver is what gets connected to the camera.
Extra Power / Batteries
It takes 4-5 hours to film a golf video, and no phone or camera is going to last that long on a single battery. If you are planning to film with your phone, I recommend getting an external power bank.
If you plan to film with a camera, I recommend buying at least 3 extra batteries to make sure you have enough battery to film the whole round, plus a little extra.
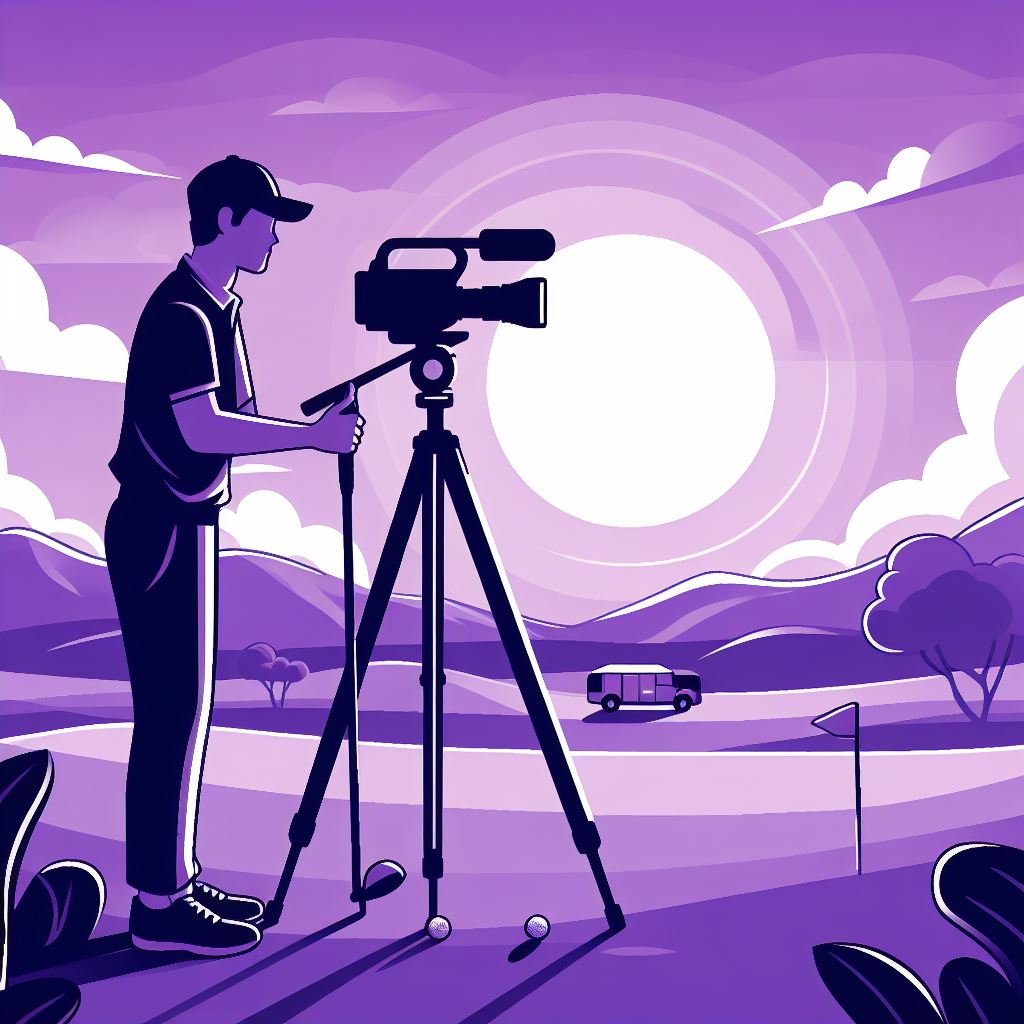
Tripods and Mounting Hardware
Pretty much all cameras and tripods will have a standard size screw and threading for the mount, so you don’t need to worry about any special attachments for that.
If you are using your phone, you can get a simple attachment from Amazon with the same threading size and be easily adjustable to hold any phone.
There are several styles of tripods that serve different purposes depending on how’d you like to film.

The vlogger style (shown in my hand above) is probably not the best for golf videos because you have to hold it. It is primarily used for cart cams or vlog style videos.
The other two styles of tripod are what I would recommend for filming a golf YouTube video.
If you are planning to put a phone/camera on a tripod and set it behind you, I recommend you get a heavy duty, metal tripod to avoid the tripod falling over in the wind (my first video I bought a cheap plastic tripod off Amazon and the wind knocked my phone into the mud on the first hole…)
I like to walk the course so what I actually do is use a small, flexible-leg tripod, and attach it to my pushcart. This way, as soon as I walk to my ball and grab my club, I can just press the play button to seamlessly film the shot. This method is also very helpful to make sure I can keep up with the pace of play on a public golf course (we aren’t all Rick Shiels or Good Good, and we don’t have the ability to reserve a course or travel with a film crew!).
One thing I will say, if you are busting out a camera and a tripod on the first tee at a public course, you better be ready to handle the pressure because you can be sure that everyone is going to be staring at you!
Computer
The last piece of hardware you need is a powerful PC for editing the videos. If you don’t have a powerful computer, it will just take longer to do the editing and processing of the video.
One bonus tip I recommend for the computer is to get a very large external hard drive. Saving all these videos takes up a lot of storage space, but it’s nice to have them in case you want to use it in a future video. (Old videos make great B-roll!)
If you are only planning to make YouTube Shorts or Instagram Reels, you can probably get away with just using your phone. All your videos will already be in vertical orientation, and there are actually a lot of great apps for editing videos on your phone already out there.
How to Edit a YouTube Golf Video
To start editing our videos, we are going to need a few pieces of software:
- Video editing software
- Image editing software
- Secret Sauce (level up our golf videos)
Video editing software
I use Camtasia from TechSmith. The reason I chose this software is because it was something I was already vaguely familiar with, and they have a one-time perpetual license option (I hate subscription-based software!)
You can buy the software here for $299. (They usually run holiday promotions so I would wait for that to get a better deal).

There is a lot of other software out there for video editing, this is just the one that I use.
Image editing software
The second piece of software we need is a way to edit images. We want to be able to make nice, stylized overlays that shows scores and yardages like they have on the PGA tour, so we need software to be able to do that.

Your probably familiar with Adobe Photoshop, but as I previously mentioned, I don’t like subscription-based software, so I use a cheaper (but equally as effective) option, Clip Studio Paint.
I actually already owned this software (I bought it a long time ago when I was a kid for the purpose of drawing comics or manga, I’d still like to do it as some sort of yearly challenge in the future, “1 year to get really got at drawing and create a comic!” so be sure to hold me accountable to that! Haha), but just like Camtasia, this software is a one-time purchase of $54.
If you need a budget option, you can always use Microsoft Paint or Microsoft PowerPoint, you may just need to do a few extra manual steps.
Adding Shot Tracers
These can be easily added using the “Shot Tracer app” downloadable from the Play Store or Apple Store for $5.49.

It is super easy to create shot tracers from your phone, just click the button to see the videos in your gallery and select the videos you’d like to add shot tracers to. The app will usually automatically recognize the impact position and add the tracer from there, but sometimes it might require manual adjustment (we can’t complain about such a power app that only costs $5!)
Adding Hole Flyovers with Google Earth Pro
I don’t have a drone and I am a one-man operation, but I still would like to add some secret sauce to my golf videos. So, what I do is create hole flyover videos using Google Earth Pro.

What I do is,
- Search the location of the golf course in the search bar in the top left
- Press button (1) shown above to draw a path for the flyover to follow
- Press button (2) shown above have a camera follow this path
- Use Camtasia to record your screen to create the flyover
(For more detailed instructions on this process, check on the accompanying YouTube video for this blog).
That’s all the software we need to create our golf YouTube video.
Now let’s look at the order of operations of what you should do first, and how long each process will take:
- Film video (4-5hrs)
- Add shot tracers (2hrs)
- Create scorecards (30min)
- Create flyovers (1-2hrs)
- Editing (6-8hrs)
- Voiceover (1hr)
Lastly, if you are creating this video for YouTube, you are going to want to make a thumbnail and a description. I am not going to go into that process in this blog but make sure to take your time creating these, it’s very important for the YouTube algorithm!
If I can leave you guys with one final message, if you are actually interested in starting a YouTube channel, my best advice to you is to just get out there and start creating videos!
You will probably have some anxiety about filming videos and putting yourself out there, but truly the best way to learn on YouTube is to just get out there and try it, and then continue to iterate and improve with each video you make.
If you guys enjoyed this guide or found some of the tips useful, be sure to Subscribe to the channel, I am always trying to create educational and entertaining content.
As always, I look forward to seeing you out on the course!